Table of Contents
ToggleDeep cleaning an apartment isn’t the same as running a vacuum and wiping down counters. It’s the difference between surface maintenance and actually resetting a space, removing the grime that accumulates in baseboards, the buildup behind appliances, and the soap scum that regular cleaning misses. Whether preparing for a lease inspection, hosting guests, or just reclaiming control of a space that’s gotten away from you, a proper deep clean takes planning, the right supplies, and a systematic approach. This guide breaks down the process room by room, covering what to tackle, which tools work best, and how to avoid wasting time on methods that don’t deliver results.
Key Takeaways
- Apartment deep cleaning targets buildup in baseboards, behind appliances, and grout lines that regular maintenance misses, preventing long-term damage and maintaining property value.
- A systematic room-by-room approach combined with essential tools like microfiber cloths, degreaser, and grout brushes makes apartment deep cleaning efficient and delivers results without expensive specialty products.
- Proper ventilation, allowing cleaners dwell time to break down grime, and using the two-bucket mopping method are critical time-saving techniques that prevent costly mistakes.
- Deep cleaning bathrooms requires aggressive tactics like bleach-based solutions for mold and vinegar soaks for hard water stains, but never mix bleach with ammonia or vinegar due to toxic fumes.
- Kitchens demand top-to-bottom deep cleaning starting with cabinets and ending with floors, while pulling out appliances to clean behind them addresses hidden grease and dust accumulation.
- Regular bedroom dusting, upholstery vacuuming, and mattress care with baking soda improve air quality, reduce allergens, and correlate with better sleep quality and reduced respiratory irritation.
What Is Apartment Deep Cleaning and Why Does It Matter?
Deep cleaning goes beyond routine tidying. It targets buildup in areas that weekly maintenance doesn’t reach: grout lines, light fixtures, inside cabinets, behind appliances, and along trim. Regular cleaning keeps surfaces functional: deep cleaning restores them.
In apartments, deep cleaning serves specific purposes. It addresses allergen accumulation in carpets and upholstery, removes mold and mildew in bathrooms, and eliminates grease buildup in kitchens. For renters, it’s often the difference between getting a security deposit back and paying for professional cleaning. For owners, it maintains property value and prevents long-term damage from neglect.
The frequency depends on lifestyle and space. High-traffic apartments with pets or children benefit from a deep clean every three to four months. Smaller spaces or single occupants can stretch it to twice a year. Regardless, it’s not optional maintenance, it’s preventive work that keeps small problems from becoming expensive ones.
Essential Supplies and Tools for a Successful Deep Clean
Having the right supplies prevents mid-project trips to the store. Stock up before starting.
Cleaning Agents:
- All-purpose cleaner for general surfaces
- Degreaser for kitchen buildup (alkaline-based formulas cut through oil better than all-purpose sprays)
- Disinfectant for bathrooms and high-touch areas
- Glass cleaner for mirrors and windows
- White vinegar for hard water stains and mineral deposits
- Baking soda for scrubbing and odor absorption
- Tile and grout cleaner or a bleach-based spray for mildew
Tools:
- Microfiber cloths (they trap dirt instead of spreading it)
- Scrub brushes in various sizes, including a grout brush
- Vacuum with attachments (crevice tool, upholstery brush)
- Mop with replaceable pads or a bucket and wringer
- Extendable duster for ceiling fans and vents
- Scraper or putty knife for stuck-on residue
- Bucket, spray bottles, and a step stool
Personal Protective Equipment (PPE):
- Rubber or nitrile gloves to protect hands from chemicals
- Safety goggles when working overhead or with spray cleaners
- Dust mask or respirator if dealing with mold, heavy dust, or strong fumes
Skip the gimmicks. A quality microfiber cloth outperforms a dozen specialty wipes, and a stiff-bristled brush does more than any “miracle” paste. Applying effective cleaning techniques with basic tools beats relying on expensive products alone.
How to Deep Clean Your Kitchen From Top to Bottom
Kitchens accumulate grease, food particles, and sticky residue faster than any other room. Work from top to bottom to avoid re-cleaning lower surfaces.
Step-by-Step Process:
-
Empty and clean cabinets. Remove all contents, wipe down shelves with all-purpose cleaner, and check for expired items. Wipe cabinet doors inside and out, paying attention to handles where grime builds up.
-
Degrease the range hood and backsplash. Spray with a degreaser, let it sit for 5-10 minutes, then scrub. Grease splatters harden over time: a plastic scraper helps lift stubborn spots without scratching tile or stainless steel.
-
Deep clean the oven and stovetop. For ovens, use the self-clean cycle if available, or apply a commercial oven cleaner and follow instructions. Remove stovetop grates and burner caps, soak in hot soapy water, then scrub. Wipe down the stovetop surface with degreaser.
-
Pull out appliances. Move the refrigerator, stove, and dishwasher if possible. Vacuum and mop behind them, this is where crumbs, dust, and grease accumulate. Clean refrigerator coils with a coil brush to improve efficiency.
-
Scrub the sink and faucet. Use baking soda and a scrub brush on stainless steel sinks to remove stains. For hard water buildup on faucets, soak a cloth in vinegar, wrap it around the fixture, and let it sit for 30 minutes before scrubbing.
-
Wipe down countertops, baseboards, and light switches. Don’t forget the small stuff, switch plates, outlet covers, and the top of the refrigerator collect dust and grease.
-
Mop the floor last. Use a degreaser or all-purpose cleaner diluted in hot water. For tile floors with grout, scrub grout lines with a brush and a bleach-based cleaner to remove stains and mildew.
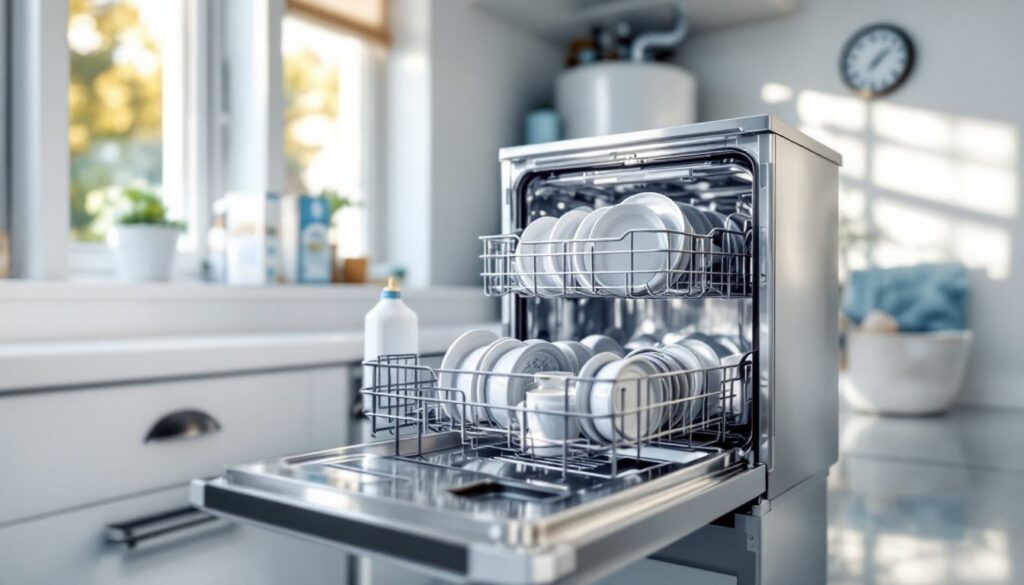
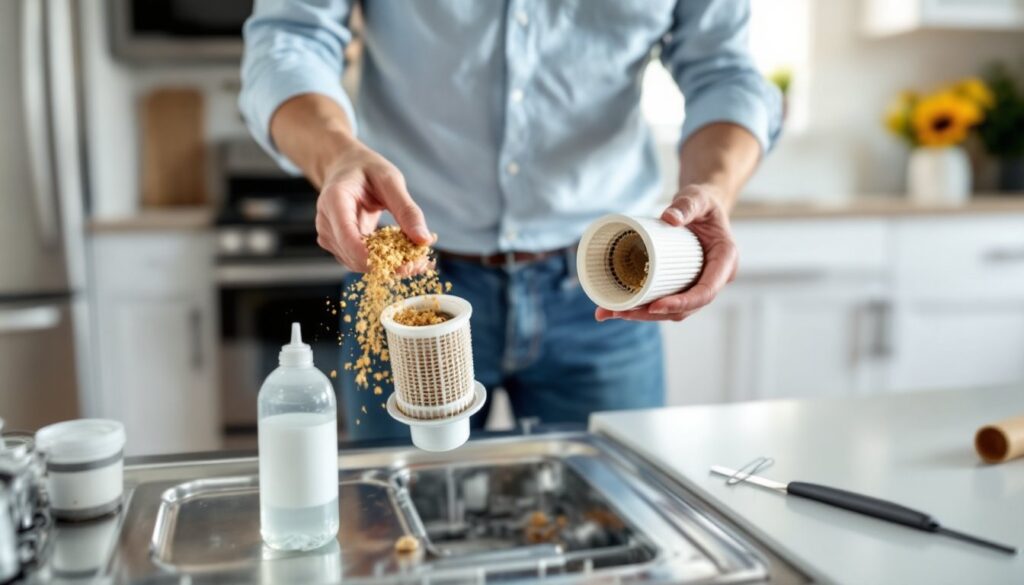
Pro Tip: If the dishwasher smells or drains slowly, run an empty cycle with a cup of white vinegar on the top rack, then sprinkle baking soda on the bottom and run a short hot cycle. This clears buildup and freshens the interior.
Bathroom Deep Cleaning: Tackling Grime, Mold, and Hard Water Stains
Bathrooms require aggressive cleaning because of constant moisture exposure. Mold, mildew, soap scum, and hard water stains don’t respond to light wiping.
Step-by-Step Process:
-
Ventilate the space. Open windows or run the exhaust fan. Many bathroom cleaners contain strong fumes.
-
Spray down the shower and tub. Apply a tile and grout cleaner or a bleach-based spray to all surfaces. Let it sit for 10-15 minutes while you work on other areas. For heavy soap scum, a paste of baking soda and water works well, apply, let it sit, then scrub with a stiff brush.
-
Scrub grout lines. Use a grout brush or an old toothbrush with a bleach-based cleaner. Grout is porous and traps mildew: this step can’t be rushed. If grout is deeply stained, consider a grout pen to restore its appearance after cleaning.
-
Remove hard water stains. Soak a cloth in white vinegar and press it against faucets, showerheads, and glass doors. After 20-30 minutes, scrub with a non-abrasive pad. For stubborn mineral deposits, a commercial lime and calcium remover (like CLR) speeds things up.
-
Clean the toilet inside and out. Use a disinfectant cleaner on the exterior, including the base and behind the bowl. Inside, apply toilet bowl cleaner, scrub with a toilet brush, and let it sit before flushing. Don’t forget the tank, mineral buildup inside can affect flushing performance.
-
Wipe mirrors, counters, and cabinets. Glass cleaner for mirrors, disinfectant for counters. Empty cabinets and wipe down shelves, checking for leaks under the sink.
-
Wash bathmats, shower curtains, and towels. Most fabric shower curtains and liners are machine washable. Add a cup of vinegar to the wash to kill mildew.
-
Mop the floor. Use a disinfectant cleaner and get into corners and around the toilet base, this is where grime hides.
Safety Note: Never mix bleach with ammonia or vinegar. The resulting fumes are toxic. Stick to one cleaner at a time and rinse surfaces between products if switching.
Maintaining a thorough cleaning approach prevents mold from establishing colonies that require professional remediation.
Deep Cleaning Bedrooms and Living Spaces
Bedrooms and living areas collect dust, pet dander, and allergens in fabrics and hidden corners. These spaces don’t get as visibly dirty as kitchens or bathrooms, but neglecting them affects air quality and comfort.
Step-by-Step Process:
-
Declutter first. Remove items from surfaces, floors, and furniture. Deep cleaning works best on clear spaces.
-
Dust from top to bottom. Start with ceiling fans, light fixtures, and the tops of cabinets using an extendable duster. Work down to shelves, picture frames, and baseboards. Microfiber cloths trap dust better than feather dusters, which just move it around.
-
Vacuum upholstery and under furniture. Use the upholstery attachment on couches, chairs, and mattresses. Move furniture and vacuum underneath, dust bunnies and allergens accumulate in these spots. For area rugs, vacuum both sides if possible.
-
Clean windows, sills, and tracks. Spray glass cleaner on windows and wipe with a microfiber cloth or squeegee. Vacuum window tracks, then scrub with a small brush and all-purpose cleaner. Dirty tracks affect window operation and trap moisture.
-
Wipe down walls, doors, and switch plates. High-touch areas like light switches and doorknobs need disinfecting. Walls near beds and seating areas often have scuff marks, use a magic eraser or all-purpose cleaner on a cloth.
-
Launder bedding and curtains. Wash sheets, pillowcases, mattress protectors, and duvet covers. Most curtains are machine washable: check labels. If not, vacuum them with the brush attachment.
-
Vacuum and mop hard floors. Vacuum first to remove loose debris, then mop with a cleaner appropriate for the flooring type (wood, laminate, tile, or vinyl).
Mattress Care: Sprinkle baking soda over the mattress, let it sit for 30 minutes to absorb odors, then vacuum thoroughly. This simple step refreshes a mattress without chemicals.
For those looking to establish smart cleaning strategies, starting with high-impact areas like bedrooms improves sleep quality and reduces allergens. Research from Real Simple suggests that regular bedroom cleaning correlates with better rest and reduced respiratory irritation.
Time-Saving Tips and Common Mistakes to Avoid
Deep cleaning an apartment takes time, but poor planning wastes hours. These strategies keep the process efficient.
Time-Saving Tips:
- Work room by room. Finish one space completely before moving to the next. It’s faster and less overwhelming.
- Let cleaners do the work. Spray and wait, most cleaners need dwell time to break down grime. Don’t scrub immediately.
- Use the two-bucket method for mopping. One bucket with cleaner, one with rinse water. This prevents spreading dirty water across floors.
- Clean as you go. While waiting for a cleaner to sit, move to another task in the same room.
- Focus on high-impact areas. If time is limited, prioritize kitchens, bathrooms, and entryways. These spaces show dirt first and affect daily function.
Many find that best cleaning tips emphasize consistency over intensity, frequent light maintenance reduces the need for marathon deep-cleaning sessions. According to Good Housekeeping, daily habits like wiping counters after use and doing a quick vacuum prevent buildup that requires aggressive cleaning later.
Common Mistakes:
- Using the wrong cleaner. Abrasive cleaners scratch glass and stainless steel. Acidic cleaners damage natural stone. Read labels and match products to surfaces.
- Skipping ventilation. Cleaning in a closed space with strong chemicals causes headaches and respiratory irritation. Always open windows or run fans.
- Ignoring dwell time. Spraying and immediately wiping doesn’t allow cleaners to break down grime. Follow product instructions for best results.
- Overloading the vacuum. Empty the canister or replace the bag when it’s two-thirds full. A full vacuum loses suction and spreads dust.
- Mixing cleaning products. Combining chemicals can create toxic fumes or neutralize effectiveness. Stick to one product per task.
Additional insights from The Spruce highlight that using microfiber cloths instead of paper towels reduces waste and improves cleaning efficiency, especially on glass and stainless steel. Adopting top cleaning tips often involves rethinking tools rather than buying more products.
Conclusion
A deep-cleaned apartment isn’t just visually appealing, it functions better, lasts longer, and supports healthier living. The process demands time and effort, but breaking it into room-by-room tasks makes it manageable. Stock the right supplies, follow a logical sequence, and don’t skip prep work or safety measures. Whether tackling a move-out clean or resetting a space that’s been neglected, the methods outlined here deliver results without unnecessary complexity.