Table of Contents
ToggleNothing’s more frustrating than pulling supposedly clean dishes from the top rack only to find dried food particles and cloudy residue. When the bottom rack comes out spotless but mugs and bowls look barely rinsed, the problem isn’t random, it’s mechanical. Top rack cleaning failures typically stem from a handful of fixable issues, most of which don’t require a service call. Before calling an appliance tech or shopping for a replacement, homeowners can troubleshoot the usual suspects: spray arm blockages, water pressure problems, and component wear. Most fixes take under 30 minutes and require nothing more than basic hand tools.
Key Takeaways
- A dishwasher top rack not cleaning is usually caused by clogged spray arm nozzles, low water pressure, improper loading, or mineral buildup—all fixable issues that don’t require a service call.
- Remove and soak the top spray arm in a vinegar-water solution, then use a toothpick to clear blocked nozzles, as this single component is the most common culprit behind poor top rack performance.
- Verify your water supply valve is fully open and test inlet flow, since low household pressure below 20 psi prevents adequate spray force and insufficient water fill.
- Loading mistakes like nesting dishes, blocking the spray arm with tall items, or overloading the rack can reduce cleaning effectiveness by up to 70%—proper arrangement alone can improve results by 30% without repairs.
- Clean or replace the dishwasher filter every two weeks, as a clogged filter reduces water pressure by 20–40% and starves the top spray arm of adequate flow.
- If mechanical troubleshooting doesn’t work, inspect the circulation pump for grinding sounds, test the inlet valve with a multimeter, and consider replacing worn components like the spray arm assembly ($15–$50) rather than replacing the entire unit.
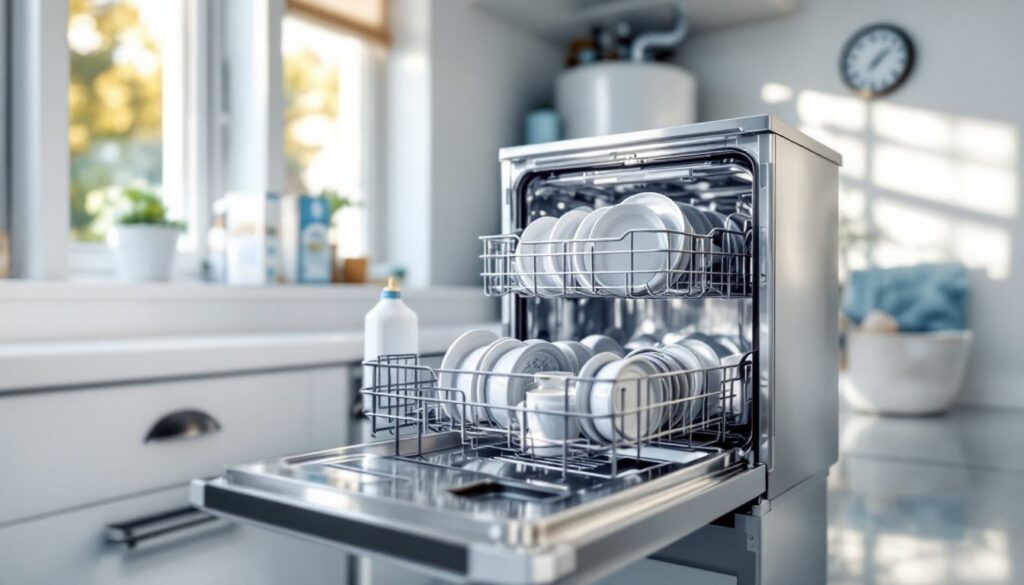
Why Your Dishwasher’s Top Rack Isn’t Getting Clean
The top rack receives water from a dedicated spray arm mounted underneath it or fed through a tower assembly from the bottom. Unlike the bottom rack, which gets the full force of the pump’s output, the top spray arm relies on water that’s already traveled through the lower spray system.
When top rack cleaning fails, the root cause usually falls into one of four categories:
- Clogged spray arm nozzles restricting water flow to the upper level
- Low water pressure or inadequate fill due to supply line issues or a partially closed valve
- Improper dish placement blocking spray patterns or preventing arm rotation
- Worn components like a failing pump, deteriorated spray arm bearings, or a clogged filter reducing overall system pressure
Hard water compounds these issues. Mineral deposits, primarily calcium and magnesium, accumulate in spray arm jets and narrow water passages, gradually choking flow. A dishwasher that cleaned perfectly six months ago may struggle now if water hardness hasn’t been addressed.
Start diagnosis by running an empty cycle with the door cracked open slightly during the wash phase. Observe whether the top spray arm rotates freely and water streams from all nozzles. If rotation is sluggish or water dribbles weakly, the next sections will walk through targeted fixes.
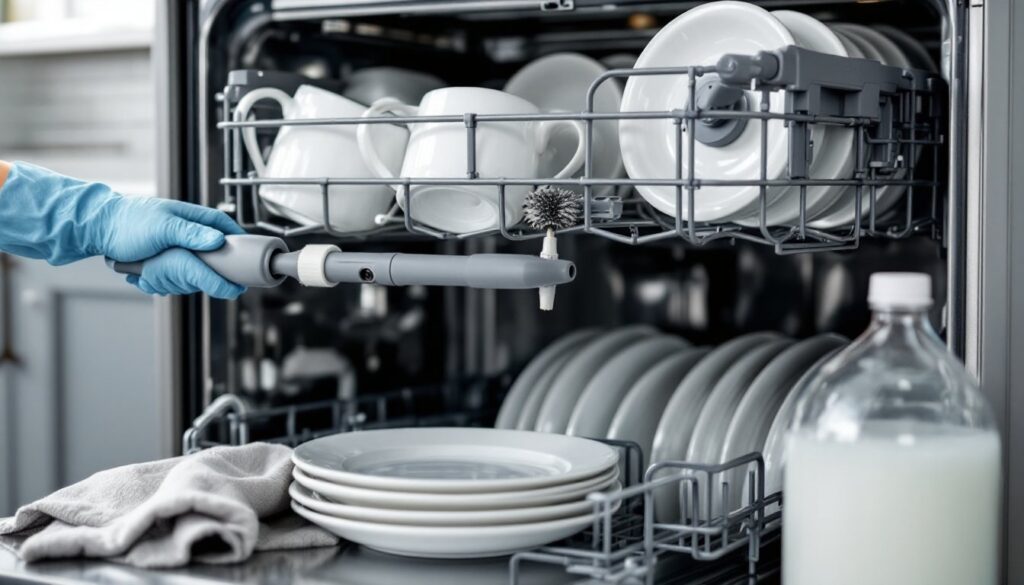
Check and Clean the Spray Arms
The top spray arm is the most common culprit. Food particles, mineral scale, and detergent residue clog the small nozzles that direct water upward. A single blocked nozzle can disrupt the arm’s rotation or create dead zones where dishes don’t get hit.
Tools needed:
- Screwdriver (usually Phillips or flathead, depending on model)
- Old toothbrush or small bottle brush
- White vinegar
- Toothpick or straightened paperclip
- Safety glasses (when working overhead)
Steps to remove and clean:
- Pull out the top rack completely and set it aside.
- Locate the retaining nut or clip securing the spray arm to its mount. Most twist counterclockwise or pop off with gentle pressure. Consult your manual if it’s not obvious, forcing it can crack plastic fittings.
- Once removed, hold the spray arm up to a light source. You should see daylight through every nozzle. Any blocked holes need clearing.
- Soak the arm in a 50/50 mix of white vinegar and hot water for 15–20 minutes to dissolve mineral buildup.
- Use a toothpick or paperclip to probe each nozzle gently. Avoid metal tools that can scratch or enlarge the openings, altering spray patterns.
- Scrub the exterior and bearing surfaces with a toothbrush to remove slimy biofilm that can impede rotation.
- Rinse thoroughly under running water, checking that all nozzles flow freely.
- Reinstall, ensuring the arm spins smoothly by hand. It should rotate with minimal resistance.
Inspect for Clogs and Mineral Buildup
While the spray arm is off, inspect the feed tube, the vertical pipe or fitting where the arm mounts. Shine a flashlight down into the opening. Sediment and limescale can accumulate here, narrowing the passage.
Use a bottle brush or damp cloth wrapped around a dowel to scrub the tube’s interior. For stubborn deposits, pour a quarter-cup of vinegar into the tube and let it sit for ten minutes before scrubbing.
Check the spray arm bearing (the hub that allows rotation). If it’s cracked, loose, or excessively worn, the arm may wobble or bind. Replacement spray arms are model-specific and typically cost $15–$40. Order by your dishwasher’s exact model number to ensure fit.
Many dishwashers also have a lower spray arm that can affect overall system pressure. While you’re troubleshooting, remove and clean it using the same process. A clogged lower arm reduces water flow to the top level, even if the top arm looks clean. Homeowners often overlook this, leading to repeat issues after only addressing the top.
Verify Proper Water Pressure and Flow
Even a spotless spray arm won’t clean dishes if water pressure is insufficient. Dishwashers require at least 20 psi at the inlet valve to function properly, though 45–60 psi is ideal. Low pressure causes weak spray, incomplete fill, and poor top rack coverage.
Check the supply valve:
Trace the water line under your sink to the shutoff valve feeding the dishwasher. It should be fully open, not just cracked. A partially open valve is a common oversight after plumbing work or leak repairs.
Test inlet flow:
- Turn off power to the dishwasher at the breaker.
- Disconnect the water supply line at the dishwasher’s inlet valve (usually located under the unit, accessible from the front kick plate or side panel).
- Place the line end in a bucket and turn the shutoff valve on briefly. Water should gush freely. A weak trickle indicates a kinked line, clogged valve screen, or low household pressure.
Clean the inlet valve screen:
The inlet valve has a small mesh screen that filters debris. Over time, sediment clogs it.
- With power off and water disconnected, remove the inlet valve cover (typically two screws).
- Pull out the screen with needle-nose pliers.
- Rinse under running water or soak in vinegar if mineralized.
- Reinstall and reconnect.
Household pressure issues:
If multiple fixtures in your home have weak flow, the problem may be a pressure regulator set too low, a partially closed main valve, or sediment in your water heater. These require a plumber.
Fill volume:
A dishwasher should fill to just below the heating element, roughly 1–2 gallons depending on model. If it underfills, the pump can’t generate sufficient spray force. Causes include a faulty float switch (stuck in the “full” position), a failing inlet valve, or low household water pressure that prevents timely filling. Replace the inlet valve if it doesn’t click open when power is applied (check with a multimeter for 120V at the valve solenoid during fill).
Correct Loading Techniques for the Top Rack
User error accounts for a surprising number of top rack cleaning complaints. Blocking the spray arm or creating water shadows behind oversized items prevents effective coverage.
Common loading mistakes:
- Tall items blocking the spray arm’s rotation: Spatulas, oversized lids, or cutting boards angled too high can obstruct the arm. Always spin the arm by hand after loading to confirm clearance.
- Nesting bowls or cups: When items nest together, water can’t reach interior surfaces. Angle bowls and cups so water drains and spray can penetrate.
- Overloading: Cramming too many items reduces water flow between dishes. Leave at least a half-inch gap between plates and bowls.
- Lightweight plastics flipping over: Secure plastic containers so they don’t flip and fill with dirty water. Use the top rack’s fold-down tines if available.
Optimize for top rack cleaning:
- Place the dirtiest side of dishes facing downward and toward the center, where spray intensity is greatest.
- Load glasses and mugs between tines, not over them. This stabilizes items and prevents blocking spray patterns.
- Use the top rack primarily for glasses, small bowls, and plastic containers. Reserve heavily soiled pots and dishes for the bottom, where water force is stronger.
According to appliance experts at Popular Mechanics, proper loading can improve cleaning effectiveness by as much as 30% without any mechanical changes. Take an extra minute to arrange thoughtfully rather than rushing the job.
Address Filter and Pump Issues
A clogged filter or failing pump chokes water flow to both racks, but top rack performance suffers first due to its secondary position in the water distribution system.
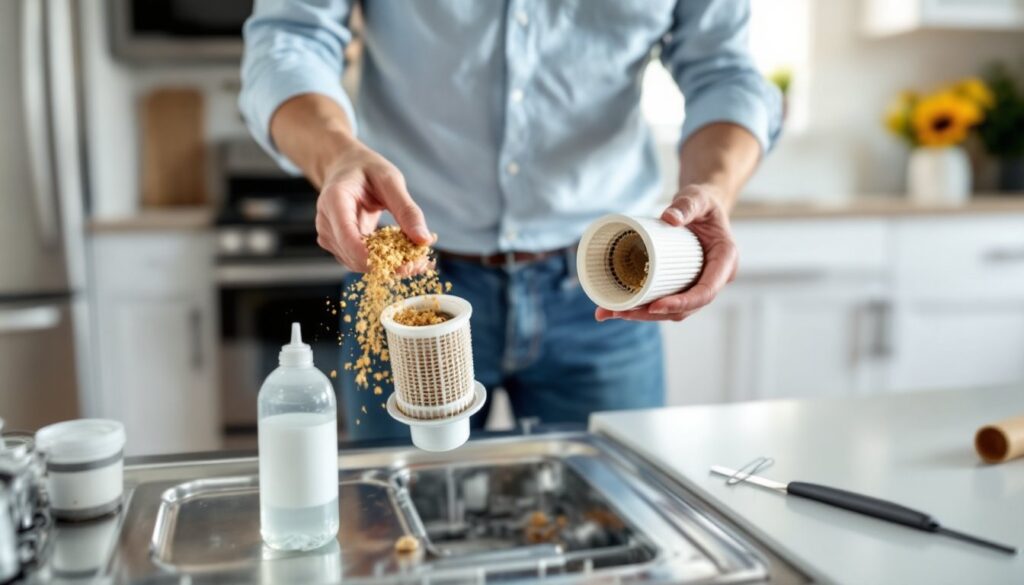
Filter maintenance:
Most modern dishwashers use a self-cleaning filter system or a removable manual filter located at the tub floor. The manual filter requires regular cleaning, ideally every two weeks for households that run the dishwasher daily.
- Remove the bottom rack.
- Twist and lift out the cylindrical filter assembly (consult your manual: designs vary).
- Rinse under hot running water. Use a soft brush to remove stuck-on food and grease.
- Check the coarse filter (the outer mesh) and fine filter (inner screen) separately. Both must be clean.
- Reinstall, ensuring it locks securely. An improperly seated filter can let debris recirculate or reduce pump efficiency.
Neglecting the filter is the single most common maintenance mistake. A partially clogged filter cuts water pressure by 20–40%, starving the top spray arm.
Pump inspection:
If the filter is clean but top rack performance remains weak, inspect the circulation pump. Listen during a wash cycle. A healthy pump hums steadily. Grinding, rattling, or intermittent noise suggests debris in the impeller or bearing wear.
Accessing the pump (advanced DIY):
- Disconnect power and water.
- Remove the bottom rack and spray arm.
- Unscrew and lift out the filter housing to expose the pump cover.
- Remove screws securing the pump cover and inspect the impeller for cracks, broken fins, or lodged debris (bones, toothpicks, and bottle labels are common culprits).
- Rotate the impeller by hand. It should spin freely with no grinding. If it binds or wobbles excessively, the pump assembly may need replacement ($80–$200 depending on model).
Safety note: Wear safety glasses and gloves when working inside the tub. Sharp debris and mold growth are common in neglected units.
If the pump itself is failing, replacement is a straightforward process for someone comfortable with basic appliance repair. Order the correct part by model number. A circulation pump replacement typically takes 30–45 minutes once the part arrives.
Replace Worn or Damaged Components
If cleaning, adjusting, and unblocking don’t resolve the issue, age and wear may be at fault. Several components degrade over time, reducing top rack performance.
Top spray arm assembly:
Cracks in the spray arm body or worn bearings prevent proper rotation. Even micro-cracks can divert water pressure away from nozzles. Replacement arms cost $15–$50 and install in minutes. Match your dishwasher’s make and model exactly.
Water inlet valve:
A weak or failing inlet valve struggles to provide adequate fill or maintain pressure. If the valve doesn’t open fully, the pump can’t generate strong spray. Test with a multimeter: the solenoid should measure 500–1,500 ohms resistance. Replace if readings fall outside this range or if the valve leaks or hums continuously. Inlet valves run $30–$60 and require basic hand tools to swap.
Detergent dispenser:
A broken dispenser door or clogged dispenser cup can release detergent at the wrong time or in clumps, reducing cleaning power. The top rack, which gets less direct water flow, suffers first when detergent doesn’t dissolve properly. Inspect the dispenser for cracked hinges, stuck latches, or detergent buildup. Clean with vinegar or replace if damaged ($20–$40).
Wash arm support or feed tube:
The plastic tube or fitting that delivers water to the top spray arm can crack or clog internally. If water barely reaches the top arm even with clean nozzles and good household pressure, suspect a cracked feed assembly. Replacement is model-specific: expect $25–$75 for parts.
When to call a pro:
- Electronic control board issues: If the dishwasher completes cycles but never sprays water to the top rack even though mechanical checks, the control board may not be energizing the proper valves or pump. Diagnosis requires a multimeter and wiring diagrams.
- Drain pump or motor failure: If water doesn’t drain between cycles, standing water dilutes detergent and prevents fresh rinses. Drain pump replacement is straightforward but messy.
- Structural tub cracks or seal failures: Rare, but a cracked tub or failing door gasket can cause pressure loss. These usually require professional assessment.
Replacement parts are widely available through appliance parts suppliers and online retailers. Always match the exact model number stamped inside the door edge or on the tub sidewall. Generic “universal” parts rarely fit correctly and can worsen problems. For guidance on appliance upkeep, kitchen-focused resources often provide model-specific troubleshooting tips.
Most component swaps are well within the reach of a DIYer comfortable with hand tools and basic electrical safety. Take photos before disassembly to guide reinstallation, and label any disconnected wires with masking tape.