Table of Contents
ToggleA dishwasher that leaves food residue, spots, or grime on your dishes defeats its whole purpose, and it’s frustrating. You’re not alone if you’ve opened the door after a cycle to find cloudiness, dried-on bits, or that film nobody wants on their plates. The good news is that your dishwasher not washing clean is usually fixable without calling a technician or replacing the unit. Most issues stem from simple oversights: poor loading habits, a neglected filter, wrong detergent, or blocked spray arms. This guide walks you through the practical checks and fixes that actually work, starting with the easiest troubleshooting steps.
Key Takeaways
- A dishwasher not washing clean is usually fixable at home by addressing simple issues like poor loading habits, clogged filters, or incorrect detergent without calling a technician.
- Proper loading technique—placing larger items on the bottom rack with soiled sides facing spray arms and leaving space for water circulation—is essential for effective cleaning.
- A clogged filter is one of the most common culprits behind poor dishwasher performance; regular cleaning or replacement ($15–$40) can significantly improve results.
- Hot water at least 120°F (49°C) and adequate water pressure (20–100 PSI) are critical for dissolving grease and activating detergent enzymes effectively.
- Using the correct amount of fresh detergent combined with proper rinse aid settings prevents spotting, film residue, and improves drying performance.
- If problems persist after checking filters, spray arms, water temperature, detergent, and unclogging jets, professional repair costs $150–$350, but replacement may be more cost-effective for units older than 8–10 years.
Check Your Loading Technique and Spray Arm Access
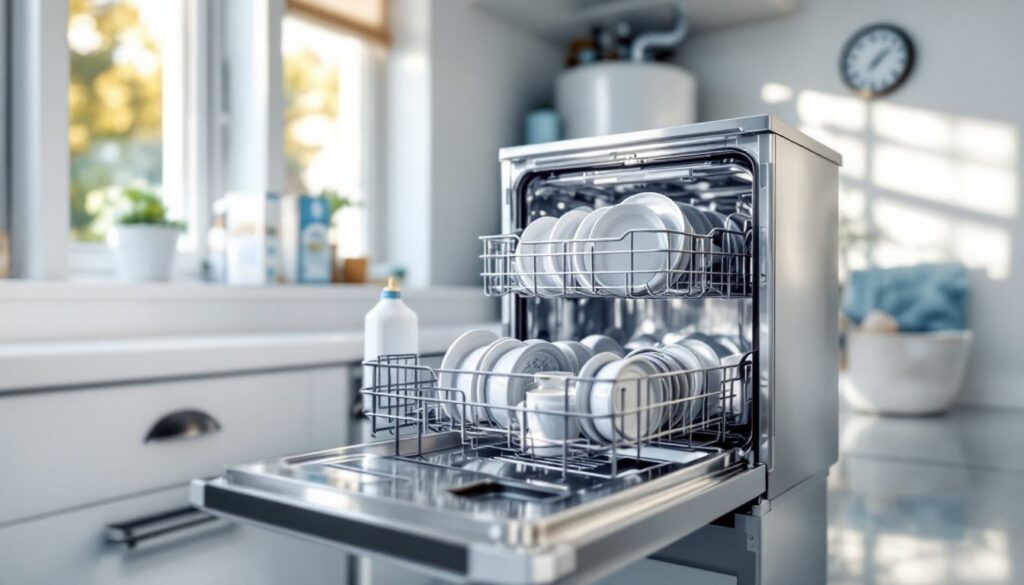
How you load your dishwasher matters far more than most homeowners realize. Too many items crammed in, or dishes blocking water spray, creates dead zones where food and soil don’t wash away. The bottom rack should hold larger items, pots, pans, cutting boards, with their soiled sides facing the spray arms. Top rack is for smaller plates, bowls, mugs, and glassware. Never nest items or lean glasses against each other: water needs to reach every surface.
The spray arms (those rotating pipes with holes underneath) are critical. If a plate, utensil, or item presses against an arm or blocks the holes, water won’t spray evenly across the load. Spin both arms by hand before running a cycle, they should rotate freely. If stuck, that’s a separate problem we’ll cover later. Leave at least an inch of space around each spray arm and above it. Avoid overcrowding: if dishes are touching the sides or ceiling, you’re loading too much.
One more thing: don’t pre-rinse dishes obsessively. Modern detergents need some soil to work on: rinsing strips away the grease and food particles the formula is designed to tackle. A quick shake of loose debris into the trash is fine, but let the machine do its job.
Clean or Replace Your Filters
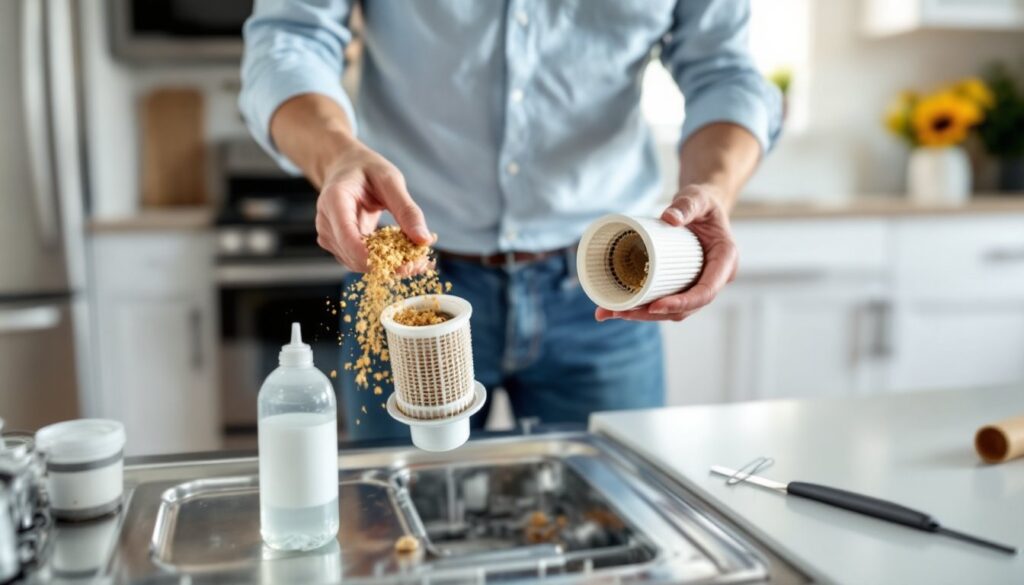
A clogged filter is one of the most common culprits behind poor cleaning. The filter sits at the bottom of the tub and catches food particles, grease, and debris. Over time, buildup reduces water flow and forces dirty water to recirculate.
Start by removing the lower basket. Most filters have a twist-and-lift design, rotate counterclockwise and lift out. Rinse it under hot running water, rubbing away visible gunk with a soft brush or old toothbrush. For stubborn deposits, soak the filter in hot water with a tablespoon of baking soda for 15–20 minutes, then scrub gently. Check the filter housing (the opening where the filter sits) and wipe away any loose debris.
If your dishwasher is still not cleaning dishes after a thorough filter cleaning, the filter may be damaged. Fine cracks, holes, or warping mean particles bypass the filter and gunk returns to your dishes. Replacement filters are inexpensive (typically $15–$40) and specific to your model. When you replace one, read the manual or product label to confirm it fits your unit. A dishwasher filter works best when installed correctly, so double-check orientation before inserting.
Inspect Water Temperature and Pressure
Dishwashers rely on hot water, at least 120°F (49°C), to dissolve grease and activate detergent enzymes. Cold water or lukewarm water won’t cut through soil effectively. Check your water heater setting: most manufacturers recommend 120°F, though some older homes run lower. If your hot water is sluggish, let the tap run for 30 seconds before starting a cycle, or run the kitchen sink hot water just before starting the dishwasher.
Water pressure also matters. Most dishwashers need 20–100 PSI to operate properly. Low pressure starves the spray arms and pump, leaving dishes unwashed. If you have a whole-house pressure issue, you’ll notice weak showers and slow filling faucets too. Check under the sink: the supply line to your dishwasher may have a shut-off valve that’s partially closed. Make sure it’s fully open. If pressure is visibly low throughout the home, contact your water provider or a plumber.
Some homes have a water softener or mineral-heavy tap water. Hard water can interfere with detergent performance and leave films on dishes. Rinse aid helps, but if mineral buildup is severe, a deep-clean with vinegar every month can reduce deposits inside the machine.
Use the Right Detergent and Rinse Aid
Not all dishwasher detergents are equal, and using the wrong type or amount compounds poor results. Powder, liquid, tablet, or pod formulas each have trade-offs. Pods and tablets are convenient but can leave residue if your machine’s dispenser is worn or if water pressure is low, the pod may not dissolve fully. Liquids distribute evenly but can overflow if overfilled. Powders offer flexibility in dosing.
The real culprit is often too little detergent or expired formula. Detergent loses potency over time: if you’ve had a box or bottle for over a year, the enzymes have likely degraded. For loads with heavy soil, you may need more detergent than the manufacturer suggests for “normal” soil. Check your machine’s dispenser, many have a fill line. Don’t guess: measure. If results don’t improve after switching detergent, move on to other checks.
Rinse aid is equally important and frequently overlooked. It reduces spotting, improves drying, and helps water sheet off surfaces instead of beading up and leaving residue. Fill the rinse aid dispenser (usually a small compartment near or under the soap dispenser) and set the hardness level on your machine according to your local water hardness. Hard water needs more rinse aid. Without it, a dishwasher not cleaning dishes often appears worse because of spotting and film.
Clear Clogs in Spray Arms and Water Jets
Mineral deposits, food particles, and grease can block the tiny holes in spray arms, starving parts of the load of water. This is especially common in areas with hard water. Start by removing the spray arms: most pull out or twist counterclockwise. Soak them in hot water and white vinegar (half vinegar, half water) for 1–2 hours. Use a straightened paper clip, toothpick, or small needle to poke through each hole, clearing blockages. Rinse thoroughly and reinstall.
Check the inlet valve screen too. This small strainer sits where the water supply line connects to the dishwasher. Turn off the supply valve under the sink, disconnect the inlet line (have a bucket ready for spillage), and inspect the screen. If clogged with sediment or mineral deposits, soak it in vinegar and clean gently with a soft brush. Reattach the line and restore water pressure.
For stubborn mineral buildup inside the tub, run a cleaning cycle using a commercial dishwasher cleaner or citric acid. Pour the cleaner into an empty tub (no dishes) and run a hot cycle. Some people use white vinegar, place a cup of vinegar in a bowl on the top rack while cleaning to help circulate it. This flushes the system and can restore water flow significantly.
When to Call a Professional or Replace Your Dishwasher
If you’ve worked through the above steps and your dishwasher is still not cleaning, internal problems may be at play. A failing pump, a malfunctioning inlet valve, a broken motor, or circulation issues require diagnostic tools and parts you won’t have on hand. Professional repair typically costs $150–$350 for labor plus parts.
Consider the age and cost-benefit math. A dishwasher older than 8–10 years that fails will often cost more to repair than replacing it. A mid-range replacement unit runs $400–$800 and comes with a warranty. If your dishwasher is newer and the repair estimate is under 50% of replacement cost, a pro is worth calling. For reference, resources like Family Handyman and The Kitchn offer detailed repair guides and when-to-replace insights.
Before calling, document what you’ve already tried: filter cleaned, spray arms checked, water temperature confirmed, detergent type and amount verified, and rinse aid refilled. This info helps the technician and may even save you a service call if they can diagnose over the phone.
Conclusion
A dishwasher not washing clean is rarely a mystery once you run through these checks methodically. Loading correctly, maintaining filters, confirming water temperature, using quality detergent and rinse aid, and clearing clogs address 90% of cleaning complaints. Start simple and work toward more involved steps. Most fixes take less than an hour and cost nothing or just a few dollars. If problems persist after these steps, then professional help or replacement makes sense, but you’ll have ruled out the easy wins first.